
Introduction
With the increasing demand for high-quality audio experiences, many users wish to connect their wired Lightning earbuds to a Windows computer. This guide provides a detailed solution if you are looking to leverage the excellent sound quality of your Lightning earbuds on a Windows operating system.
Understanding the Basics
Connecting wired Lightning earbuds to a Windows PC isn’t as straightforward as plugging in traditional headphones with a 3.5mm jack. The reason is that Lightning earbuds are primarily designed for Apple devices, which use different hardware and software protocols compared to Windows PCs.
However, with the right adapters and a bit of technical knowledge, you can enjoy the rich sound quality of your Lightning earbuds on your Windows computer. This guide will walk you through the steps necessary and help you understand the essential equipment and adapters required to make the connection.
Required Equipment and Adapters
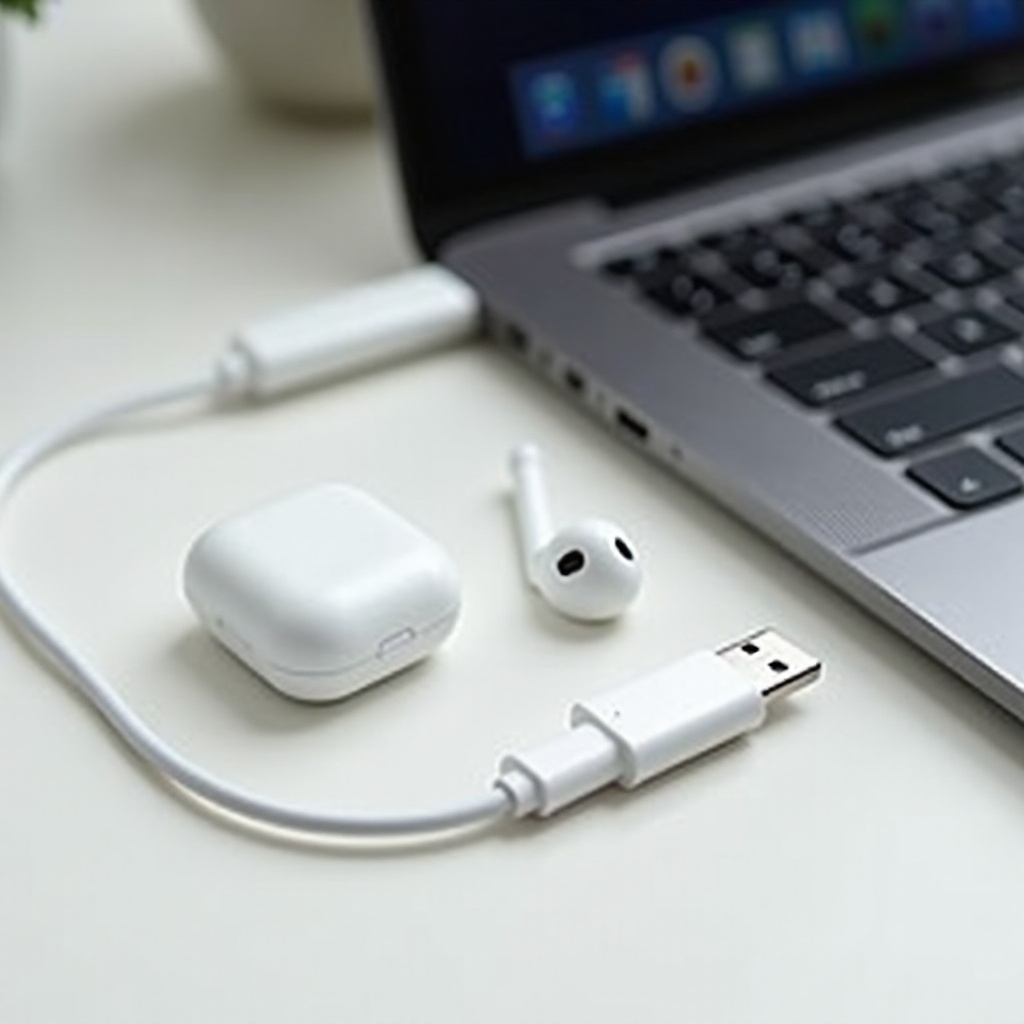
Firstly, it’s crucial to know the equipment and adapters you will need for the connection. Your Lightning earbuds feature a Lightning connector, a proprietary Apple technology. Since Windows PCs do not come with a Lightning port, you will need:
- USB-A or USB-C to Lightning Adapter: This adapter converts the Lightning connection to a USB connection that your PC can recognize.
- Third-party DAC (Digital-to-Analog Converter): In some cases, your Lightning to USB adapter may require a DAC to ensure proper signal conversion.
- Drivers or Software: You might need specific drivers or software, depending on your Windows version and hardware configuration. Having these elements ensures you bridge the technology gap between Apple and Windows devices.
Step-by-Step Connection Process
Gathering Necessary Equipment
Before beginning the connection process, ensure you have the following items:
- Lightning Earbuds
- USB-A or USB-C to Lightning Adapter
- Third-party DAC (if needed)
- USB port on your Windows PC
Connecting Using the Adapter
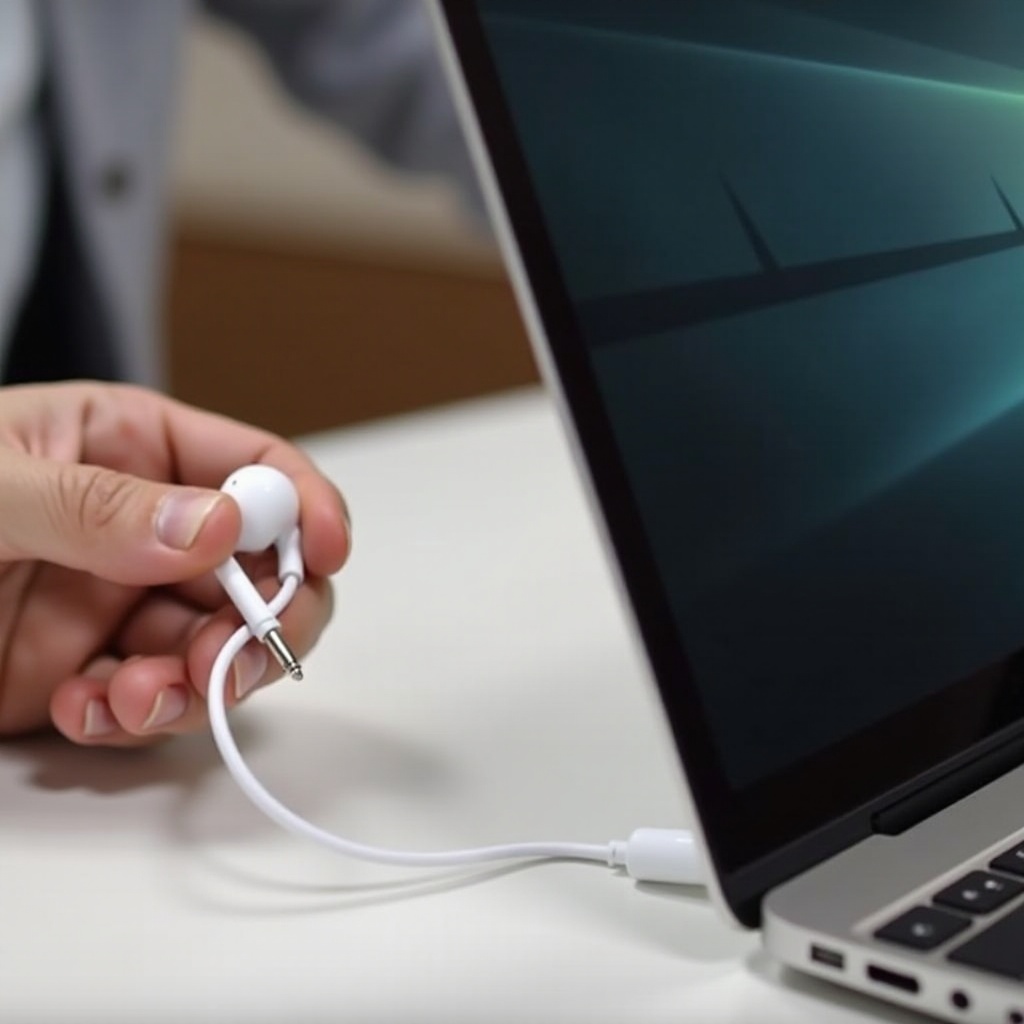
- Plug the Lightning earbuds into the Lightning to USB adapter: Connect the Lightning end of your earbuds to the Lightning port on the adapter.
- Connect the Adapter to Your PC: Insert the USB-A or USB-C end of the adapter into a corresponding USB port on your Windows PC. Ensure the connection is secure.
- Wait for Automatic Driver Installation: In many cases, Windows will automatically detect the new hardware and begin installing the necessary drivers. Allow the process to complete.
Verifying the Connection
- Open Control Panel: Go to the Control Panel on your Windows PC.
- Navigate to Sound Settings: Once in the Control Panel, click on ‘Hardware and Sound’ and then ‘Sound.
- Check Playback Devices: In the Sound window, look for your Lightning earbuds in the list of playback devices. It may appear as ‘USB Audio Device’ or similar.
By following these steps, you should have successfully connected your wired Lightning earbuds to your Windows PC.
Optimizing Audio Settings on Windows
After connecting your earbuds, it’s time to optimize the audio settings for the best experience.
Accessing Audio Settings
- Right-click on the Speaker Icon: Find the speaker icon on the taskbar and right-click it.
- Open Sound Settings: Select ‘Open Sound settings’ from the context menu.
Tweaking Sound Quality
- Enhance Audio Performance: Under the ‘Output’ section, select your device and click on ‘Device properties.’ Navigate to the ‘Enhancements’ tab and choose any audio enhancements you prefer.
- Adjust Sample Rate: From the same window, go to the ‘Advanced’ tab and set the sample rate to the highest available setting to ensure better sound quality.
Setting Default Playback Device
- Make Earbuds Default Device: In the Sound settings under the ‘Output’ section, ensure your Lightning earbuds are set as the default playback device.
By adjusting these settings, you’ll ensure the best audio performance from your Lightning earbuds on your Windows PC.
Troubleshooting Common Issues
Despite following the steps, you might encounter some issues. Here are common problems and solutions:
- Earbuds not detected: Ensure the adapter and connections are secure. Try using a different USB port.
- No audio output: Check the default playback device in audio settings. Ensure your earbuds are set as the default.
- Driver issues: Visit the adapter manufacturer’s website to download the latest drivers.
Alternatives and Workarounds
If connecting your wired Lightning earbuds seems too complicated, consider these alternatives:
- Bluetooth Adapter: Use a Bluetooth adapter compatible with Apple devices.
- Different Earbuds: Consider USB or 3.5mm jack earbuds designed for Windows.
Connecting your wired Lightning earbuds to a Windows PC involves a few simple steps and the right adapters. By following this guide, you can enjoy high-quality audio on your Windows machine, optimize the settings, and troubleshoot any common issues.
Frequently Asked Questions
Why isn’t my Windows PC detecting my Lightning earbuds?
Ensure all connections are secure and try using a different USB port. Check for the latest drivers from the adapter manufacturer.
Can I use Bluetooth adapters for Lightning Earbuds?
Yes, a Bluetooth adapter that is compatible with both Windows and Lightning technology can be an alternative solution.
Do I need any specific software for the connection?
In most cases, Windows will automatically install necessary drivers. However, specific third-party adapter manufacturers may require their software for optimal performance.