
Introduction
Upgrading your Alienware Laptop 17 R5 with an SSD can significantly enhance your gaming and computing experience. SSDs (Solid-State Drives) offer faster boot times, quicker file transfers, and overall improved performance compared to traditional HDDs. This guide will walk you through why you should consider an SSD upgrade, how to choose the right SSD, and provide a detailed step-by-step installation process. Let’s dive in and bring your Alienware 17 R5 up to speed with the best 2024 technology.
Why Upgrade Your Alienware 17 R5 with an SSD?
The transformation brought by an SSD upgrade in your Alienware 17 R5 is substantial. Firstly, SSDs dramatically reduce boot times, allowing you to start up your system in seconds rather than minutes. This speed boost isn’t confined to just the operating system; SSDs accelerate the launching of applications and games, leading to smoother and more efficient performance.
Beyond the performance gains, SSDs are more reliable and durable. Unlike HDDs, which have moving parts, SSDs use flash memory, making them less susceptible to physical damage. This reduces the risk of data loss due to mechanical failure, a common issue with traditional hard drives. Whether you are a professional gamer or a productivity enthusiast, an SSD upgrade ensures your system remains robust and responsive under demanding conditions.
Choosing the Right SSD for Your Alienware 17 R5
Selecting the perfect SSD for your Alienware 17 R5 involves considering several factors. Compatibility is crucial; the Alienware 17 R5 supports both SATA and NVMe M.2 SSDs. While SATA SSDs offer a significant improvement over HDDs, NVMe SSDs boast even faster data transfer speeds, making them the ideal choice for those seeking top-tier performance.
Next, focus on storage capacity. Common SSD sizes range from 256GB to 2TB. Gamers and professionals working with large files should lean towards higher capacities to avoid frequent storage issues. The balance between storage needs and budget will guide your choice.
Brand reliability and warranty are also essential. Trusted brands like Samsung, Western Digital, and Crucial have strong reputations for quality and support, providing peace of mind with robust warranties.
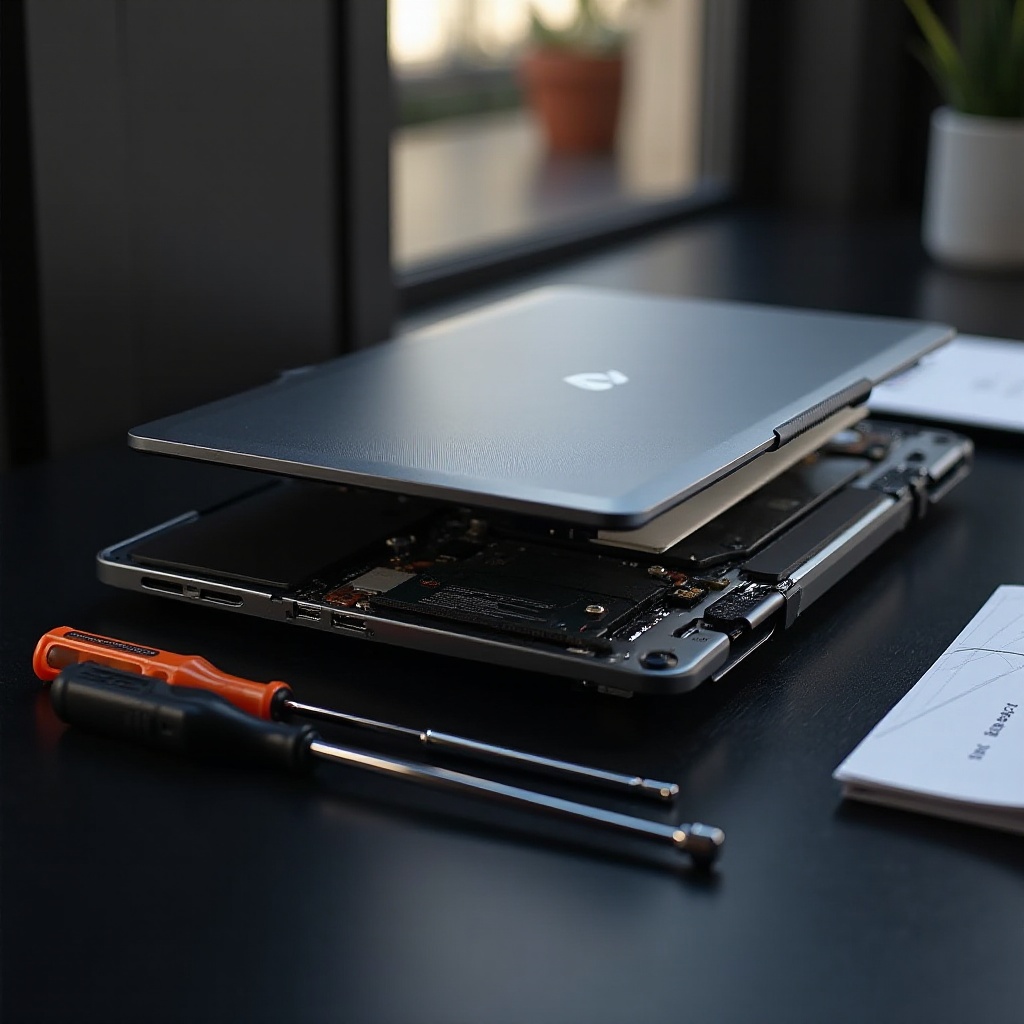
Step-by-Step Guide to Installing an SSD on the Alienware 17 R5
Start by gathering the necessary tools for the upgrade. Here’s what you’ll need:
- A compatible SSD (SATA or NVMe)
- A screwdriver (typically Phillips-head)
- An anti-static wrist strap (optional but recommended)
- Cloning software (for data migration)
Backing Up Your Data:
Before starting the upgrade, back up your data to an external drive or cloud service. This ensures no loss of important files in case of any issues during the installation.
Removing the Old Drive:
1. Power down and unplug your laptop.
2. Remove the bottom panel screws and gently lift the cover.
3. Locate the existing storage drive (HDD or SSD).
4. Unscrew and carefully disconnect the drive from the motherboard.
Installing the New SSD:
1. Insert the new SSD into the designated slot—SATA slot for 2.5” SSDs or M.2 slot for NVMe SSDs.
2. Secure the SSD with screws as needed.
3. Reattach the bottom panel and screw it back into place.
Cloning Your OS and Data:
1. Connect the old drive to your laptop via an external enclosure.
2. Use the cloning software to transfer your OS and data from the old drive to the new SSD.
3. Follow the software instructions to ensure all data is successfully cloned.

Post-Upgrade Tips to Optimize SSD Performance
Once you have successfully installed the SSD, there are a few steps you can take to maximize its performance.
Updating Firmware and Drivers:
Check for any SSD firmware updates from the manufacturer’s website. Updating SSD firmware can fix bugs and improve performance. Additionally, ensure that your system drivers, especially storage and chipset drivers, are up-to-date.
Tweaking OS Settings:
Adjust your operating system settings to optimize SSD performance. Disable disk defragmentation as SSDs don’t require it. Enable TRIM support, which helps maintain the performance of your SSD over time. Adjust power settings to prevent the SSD from entering sleep mode, which can cause unnecessary wear.
Monitoring SSD Health:
Regularly monitor the health of your SSD using management tools provided by the manufacturer or third-party software. These tools can alert you to potential issues before they become serious problems, allowing for timely intervention.
Common Issues and Troubleshooting
Upgrading your SSD is straightforward, but you might encounter some common issues. Here’s how to address them.
Drive Not Recognized:
Ensure the SSD is correctly seated in its slot. Double-check all connections and update the storage drivers. If the problem persists, access the BIOS to ensure the drive is recognized by the system and is listed as the boot device.
Performance Issues:
If the SSD is underperforming, confirm that it is connected to the appropriate interface (NVMe for NVMe SSDs). Check for firmware updates and verify TRIM support is enabled.
Firmware Updates:
Sometimes, SSDs require firmware updates to function correctly. Regularly check the manufacturer’s website for the latest firmware versions that can enhance compatibility and performance.
Conclusion
Upgrading your Alienware 17 R5 with an SSD is a straightforward way to significantly boost your system’s performance and reliability. With enhanced speed, durability, and efficiency, an SSD upgrade transforms your laptop into a powerhouse. Follow this comprehensive guide to install your SSD with confidence and optimize it for peak performance.
Frequently Asked Questions
Can I use any SSD with my Alienware 17 R5?
You need to use a compatible SSD with your Alienware 17 R5. Both SATA and NVMe M.2 SSDs are supported, but NVMe SSDs offer superior performance.
How much SSD storage do I need for gaming?
The storage requirement depends on your gaming library size. Generally, a 512GB SSD is a good starting point, but avid gamers should consider 1TB or more to accommodate large game files and other data.
Will upgrading to an SSD void my warranty?
Upgrading to an SSD typically does not void your warranty, but it is wise to check Dell’s warranty policy. Ensure any damage caused during the upgrade process is the responsibility of the user.