Introduction
Realizing that your precious MacBook Pro M1 has come into contact with water can be a stressful experience. As technology advances, our reliance on devices like the MacBook Pro M1 grows, making it crucial to know how to handle such mishaps. This guide will walk you through the essentials of fixing water-damaged air vents on your MacBook Pro M1, ensuring you can get your device back to optimal performance without delay.
With proper knowledge and the right tools, you can handle water damage scenarios effectively. Let’s explore the steps you need to take to manage and repair water damage to the air vents of your MacBook Pro M1.
Understanding Water Damage in Your MacBook Pro M1
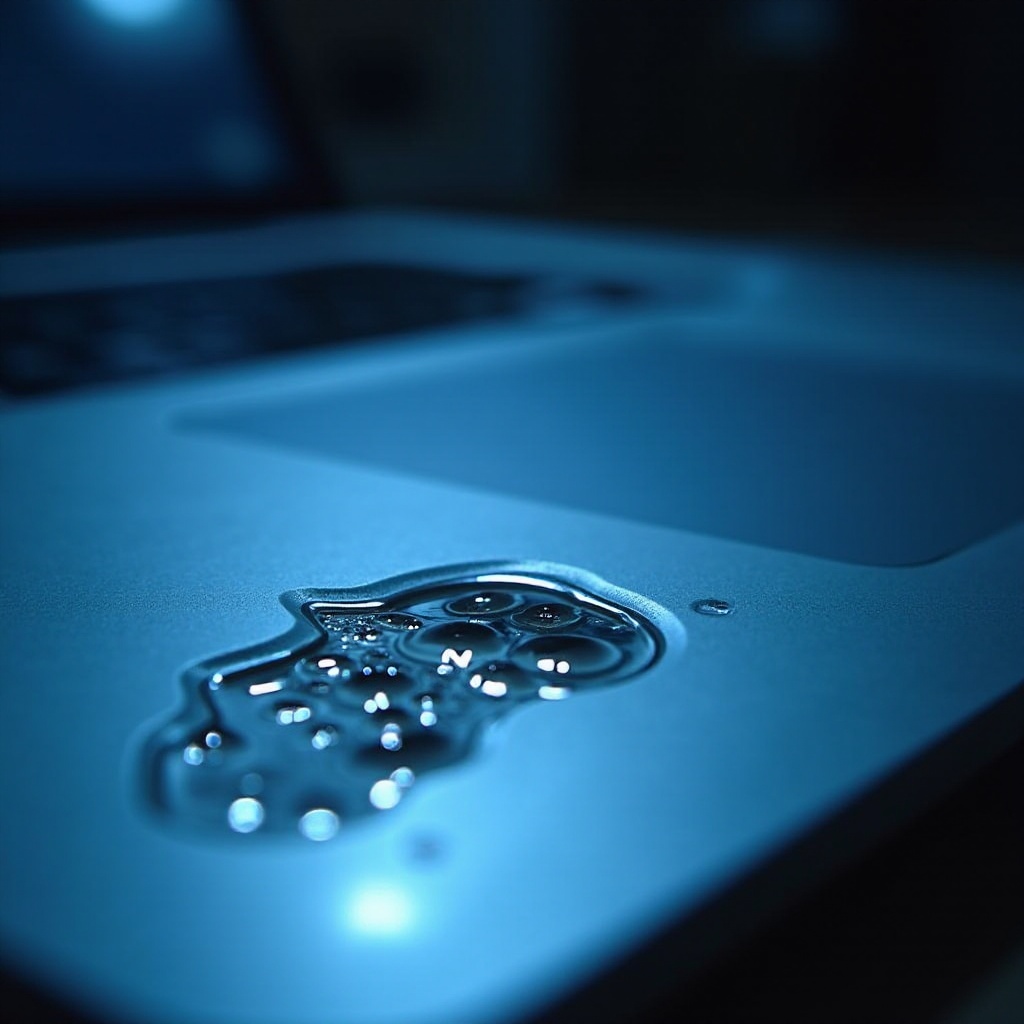
Water damage can cause multiple issues in electronic devices, especially sophisticated ones like the MacBook Pro M1. When water enters the air vents, it can affect cooling and other internal components critical to your device’s performance. Immediate attention is necessary to prevent permanent damage.
Air vents are essential for keeping internal temperatures regulated. When they become wet, the moisture can eventually lead to short circuits, corrosion, and other serious hardware problems. Thus, understanding the importance of these components and acting quickly can save you a lot of headaches and expenses in the future.
Know the signs of water damage to diagnose and fix the issue. Symptoms include poor ventilation, unusual noises, or system failures. Let’s delve into the immediate actions you need to take when water damage occurs.
Immediate Actions to Take After Water Exposure
Time is of the essence when your MacBook Pro M1 gets exposed to water. Follow these steps immediately:
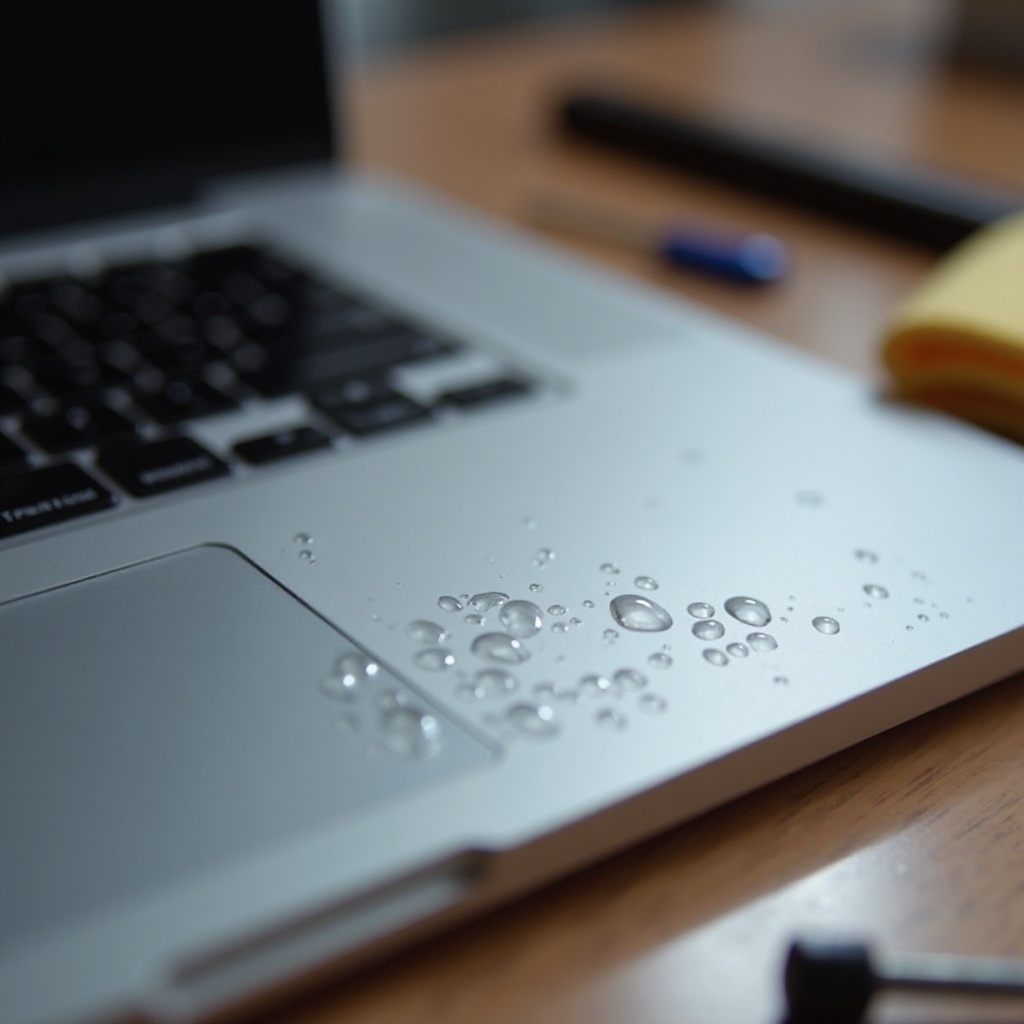
- Power Down and Unplug: The first thing you need to do is turn off your device. This prevents electrical shorts.
- Remove Peripherals: Disconnect any attached devices such as USB drives, external hard drives, and mice. This minimizes the risk of damage to other components.
- Position the Device Correctly: Tilt the MacBook at an angle to allow any excess water to drain out of the vents quickly.
- Wipe Down Externally: Use a dry, lint-free cloth to wipe down the exterior and absorb as much surface moisture as possible.
Acting quickly can significantly reduce the extent of the damage. Now, let’s gather the tools and materials necessary for the repair.
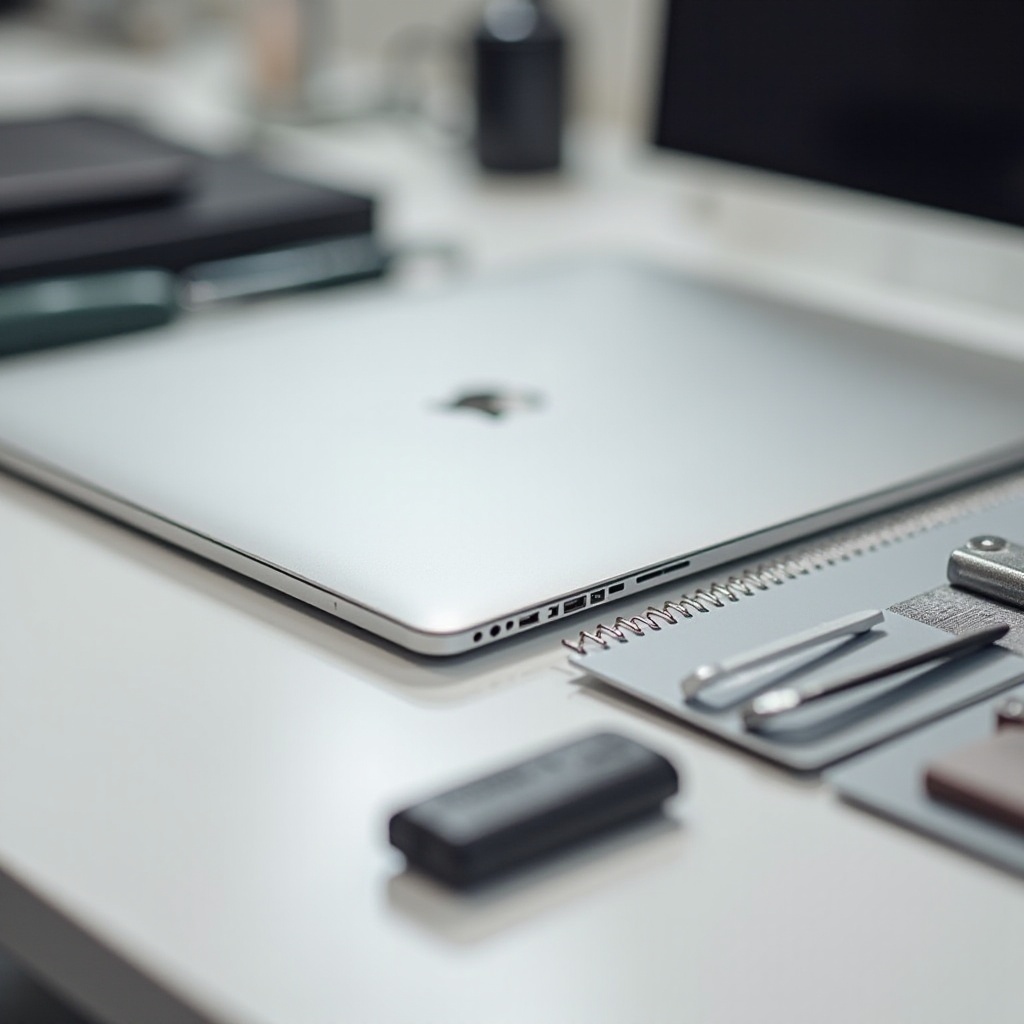
Tools and Materials You Will Need
Before you begin, you will need some specialized tools and materials to conduct the repair efficiently:
- Pentalobe Screwdriver: For removing the MacBook’s bottom cover.
- Plastic Pry Tools: To gently open the casing without damaging it.
- Microfiber Cloths: To wipe and clean internal components.
- Isopropyl Alcohol (90% or higher): For cleaning and drying internal parts.
- Tweezers: For handling small components.
- Compressed Air Can: To blow out moisture and dust.
Having these tools at hand will make the repair process smoother and more effective. Let’s move on to the detailed step-by-step guide to dry and repair the water-damaged air vents.
Step-by-Step Guide to Drying and Repairing Water Damaged Air Vents
Power Down and Unplug the Device
First and foremost, ensure your MacBook Pro M1 is powered down and unplugged. This reduces the risk of electrical shorts during the drying and repair process.
Initial Drying Techniques
Place your MacBook upside down on a dry, absorbent cloth. Gently pat the surface with another dry cloth to absorb as much water as possible. Avoid shaking or moving the device aggressively, as this could cause the water to spread internally.
Opening the MacBook to Access Air Vents
Use a Pentalobe screwdriver to remove the screws securing the bottom cover of the MacBook. Carefully use the plastic pry tools to open the case, taking care not to damage the internal components.
Cleaning and Drying the Air Vents and Surrounding Components
Once open, use a microfiber cloth to gently wipe any visible moisture. Apply isopropyl alcohol on stubborn areas to help with drying and cleaning, as it evaporates quickly. Use the compressed air can to blow out any remaining moisture from the air vents and surrounding areas.
Assessing and Repairing Other Potential Damage
After drying the air vents, examine other components for signs of water damage, such as corrosion or residues. Pay special attention to the keyboard, ports, battery, and logic board.
- Keyboard and Ports: Use isopropyl alcohol and a gentle brush to clean.
- Battery: If swollen or damaged, it should be replaced immediately.
- Logic Board: Check for any corrosion or discoloration. Clean with isopropyl alcohol.
Careful assessment and cleaning can prevent further issues from arising in the future.
Reassembling and Testing Your MacBook Pro M1
Once you have thoroughly dried and cleaned the internal components, reassemble the MacBook by carefully screwing the bottom cover back on. After reassembling, power on your MacBook to test its functionality. Monitor for any unusual behaviors or operational issues.
Long Term Care and Prevention Tips
Preventing future water damage to your MacBook Pro M1 is crucial:
- Use a Waterproof Case: Invest in a high-quality case that offers protection against accidental spills.
- Keep Liquids Away: Avoid using your MacBook near liquids.
- Regular Maintenance: Regularly clean and inspect the air vents and other components to ensure they are free from dust and debris.
Implementing these tips can prolong the life of your device and prevent future mishaps.
If your MacBook Pro M1 does not respond even after following these steps, it’s time to involve a professional. Let’s discuss when professional intervention is necessary.
When to Seek Professional Help
If your MacBook Pro M1 does not respond after following the drying and cleaning process, or if you notice severe damage to internal components, seek professional help. Apple-certified technicians have the expertise and tools to handle extensive repairs and ensure your device returns to optimal performance.
Conclusion
Fixing water-damaged air vents on a MacBook Pro M1 requires immediate action, the right tools, and careful handling. By following this guide, you can address the damage efficiently and minimize the risk of long-term issues. Remember to practice preventive measures to protect your device in the future.
Frequently Asked Questions
What should I do if my MacBook Pro doesn’t turn on after water damage?
If your MacBook Pro M1 fails to turn on after drying and cleaning, seek professional assistance. There may be deeper internal damage that requires expert repair.
Can I use a hairdryer to dry the water-damaged air vents?
It’s not recommended to use a hairdryer, as the high heat can damage internal components. Instead, use a can of compressed air and isopropyl alcohol for safer drying.
How can I prevent water damage to my MacBook Pro M1 in the future?
To prevent future water damage, use a waterproof case, keep liquids at a safe distance from your device, and regularly maintain the air vents and other components.