Introduction
Mac users frequently encounter challenges when attempting to connect external devices like flash drives. Understanding how to find a flash drive on a Mac is crucial for efficient data transfer and storage. This guide outlines clear steps and solutions for connecting and troubleshooting flash drive detection issues on your macOS system. Whether you’re a novice Mac user or looking to enhance your device management skills, the following tips and tricks will improve your experience. With this user-friendly guide, gain the confidence to effectively manage your files on a Mac. Let’s explore the necessary steps to locate and utilize your flash drive on a Mac.
Connecting Your Flash Drive to a Mac
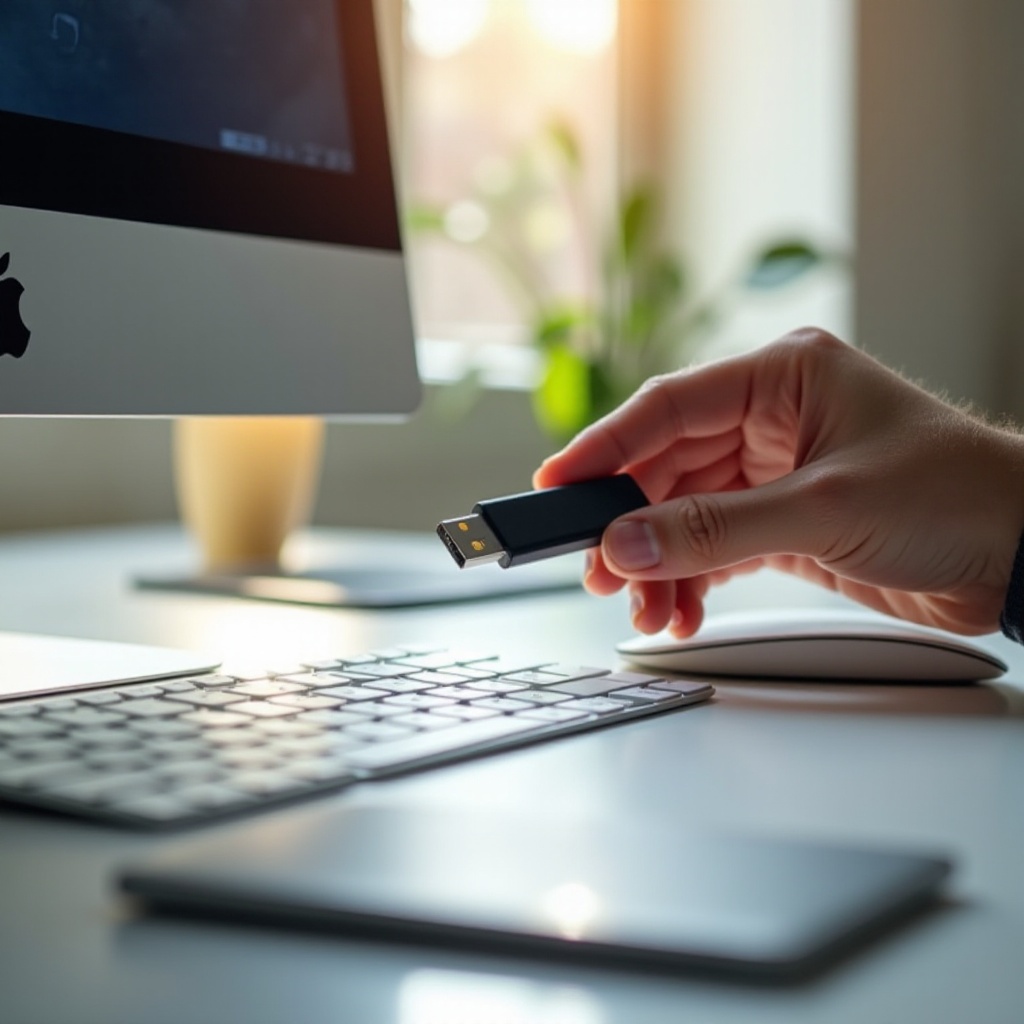
Starting with a proper connection is essential when using your flash drive. Find one of the available USB ports, typically situated on the sides or back of your Mac, and insert the drive. You should hear a slight click, indicating a secure connection. Some newer Mac models require a USB-C adapter, so verify your device compatibility beforehand.
Once connected, give it a few seconds for macOS to auto-detect the device. If you face issues, inspect the flash drive and port for a stable connection. Trying another port can help determine if the issue lies with the port or the drive itself. Emphasizing a secure connection ensures successful data transfer without interruptions or data loss.
Move on to checking your macOS system to find and access your flash drive using the Finder, which serves as a pivotal tool for managing external devices on a Mac.
Navigating macOS to Locate Your Flash Drive
Upon connecting your flash drive, macOS allows access via the Finder. The Finder functions as the central hub for exploring everything on your Mac, including external devices.
Using Finder to Access External Drives
- Open Finder: Click the Finder icon in your dock.
- Locate Sidebar: Observe the sidebar on the Finder window’s left side.
- Check Devices Section: Under ‘Devices,’ locate your flash drive.
- Access Your Flash Drive: Click the drive’s name to open and explore its contents.
If the drive isn’t immediately visible, adjust your Finder preferences to streamline device access.
Customizing Finder Preferences for Quick Access
For enhanced efficiency, consider refining your Finder settings:
- Finder Menu Selection: Click ‘Finder’ near the Apple logo in the top-left corner.
- Open Preferences: Select ‘Preferences’ from the dropdown menu.
- Toolbar Customization: Go to the ‘Sidebar’ tab to decide which items should appear.
- Show External Drives: Ensure ‘External disks’ is checked under ‘Locations’ to always display connected flash drives.
With these settings, expect instant appearance of your flash drive upon connection, saving time. However, some users might still face detection issues. Proceed to the next section for troubleshooting advice.
Troubleshooting Flash Drive Detection Issues
Even with a secure connection, your flash drive might still be undetected due to various factors. Here are steps to identify and troubleshoot common issues:
Ensuring a Secure Connection
- Double-check the USB connection stability.
- Experiment with different USB ports or another flash drive to eliminate port issues.
- Look for any physical damage to the flash drive, such as bent connectors.
Verifying Drive Format Compatibility
Make sure your flash drive is in a compatible format, such as FAT32 or exFAT, since Macs support these formats:
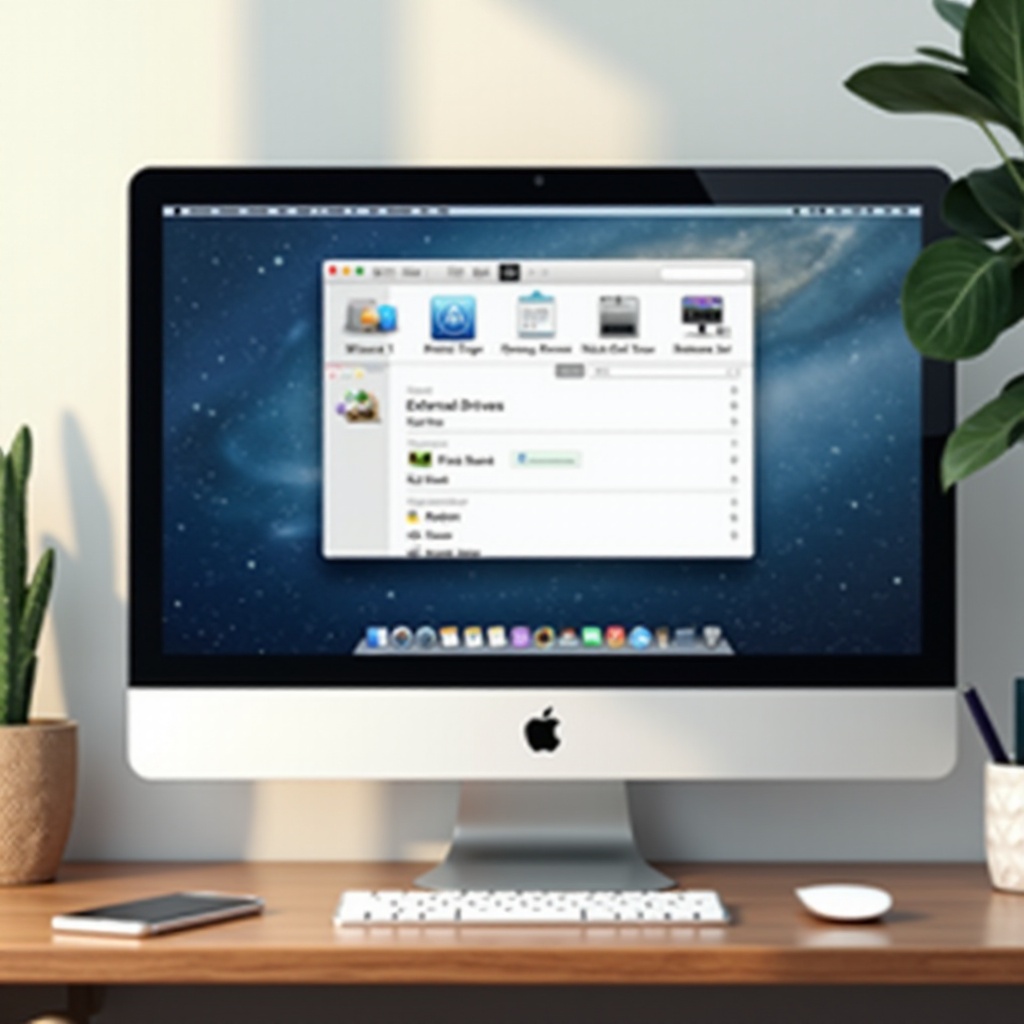
- Open ‘Disk Utility’ via ‘Applications’ > ‘Utilities.
- Locate your flash drive in the list on the left.
- Check and, if necessary, reformat the drive using an appropriate format—exercise caution as reformatting will erase all data.
Using Disk Utility for Troubleshooting
Use Disk Utility to diagnose and solve drive-related problems:
- Access Disk Utility.
- Select Drive: Find your flash drive in the sidebar list.
- Run First Aid: Click ‘First Aid’ on the top menu to diagnose and repair issues.
- Follow Prompts: Let the tool complete its diagnostic and repair processes.
Following these troubleshooting steps should resolve most detection problems. Once your flash drive is detected, focus on using it efficiently on your Mac.

Additional Tips for Efficient Flash Drive Use on Mac
Effective management leads to an improved experience with your flash drive on a Mac. Consider these tips:
Organizing Files and Folders
Enhance file management by creating folders for distinct projects or file types. It simplifies retrieval and maintains workflow. Use descriptive folder names for efficient organization.
Regularly Updating macOS to Ensure Compatibility
Keep macOS updated to ensure it supports a broad range of devices and file formats. Regular updates boost the system’s capability to recognize peripheral devices like flash drives. Navigate to ‘System Preferences’ > ‘Software Update’ to check for updates.
Conclusion
Locating and managing a flash drive on a Mac doesn’t have to be complex. By understanding the connection process, navigating macOS effectively, and handling potential issues, you can optimize flash drive usage. As technology advances, continually adapting your device ensures smooth operations. Employ these insights to improve productivity and efficiency while working with flash drives on macOS.
Frequently Asked Questions
Why Can’t I See My Flash Drive on the Desktop?
If the flash drive isn’t visible on the desktop, check that external disks are selected in Finder Preferences under the General tab.
How Do I Safely Eject a Flash Drive from My Mac?
To safely eject a flash drive, right-click its icon in Finder and select ‘Eject.’ You can also drag the drive icon to the Trash, which turns into an eject symbol.
What Should I Do If My Flash Drive Is Not Recognized?
If your flash drive isn’t recognized, ensure a stable connection, check format compatibility, or use Disk Utility for troubleshooting. These usually resolve the issue.